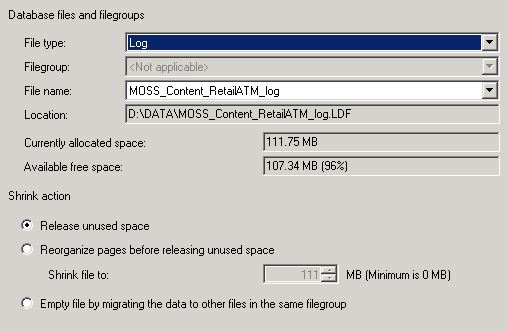
This is something that gets done allot once your DB's start growing...
Here are the steps.
Do a full backup of your farm!!
Then you need to export to site:
Export-SPWeb -Identity "http://SiteURL/SubSite/…/" -Path "C:\Backups\SiteName.cmp" -IncludeUserSecurity -IncludeVersions all

Now you need to
(Why did i not think of this....my SharePoint team lead said just rename it...)
Now you can add a explicit inclusion that is called what the path must be.
Now you need to create your new Database.
You need to make sure your new Site Collection is added to the specific database.
In Central Admin go to Manage Content Databases

Click on the database name, you need to edit the amounts under Site Collection Level Warning to one less that the amount under the "Current Number of Sites Collections"
In My case i will make Warning level "0" since there is only 1 web application.
Then the next value you need to make the same as number of site collections so i will set Max number of site collections to "1"
This will prevent the database allowing more site collections to be added under it.
Now you need to add the new Database
Just click on "Add Content Database" at the top of the previous Screenshot.
Here it is important to name your database to something that makes sense. i Like to include the port number if you have multiple ports.
Also set your limits to 0 and 1 so that your database don't get used when adding other site Collections
Now go and create you New Site Collection.
Adding Site via PowerShell:
If you don't want to set the limits on your Databases you need to create your site collection via PowerShell
(If there are lots of Databases you don't always want to go and set all the site collection levels, although i think t should be done to manage your databases properly)
Open PowerShell in admin mode
New-SPSite http://sp2010manual/operations -ContentDatabase Databasename -ownerAlias spdc\sp_admin -lang 1033
Ok, now we are ready to import your site:
Import-SPWeb -Identity "http://Siteurl/Site/SiteCollection" -Path c:\backups\Sitename.cmp -IncludeVersions Qverwrite -IncludeUserSecurity
a Log file will be generated. Make sure there were no errors Right at the bottom it should say "0 errors"
This piece was done going backwards and forward testing different approaches so if anything does not makes sense please post comments so that i can fix it.


